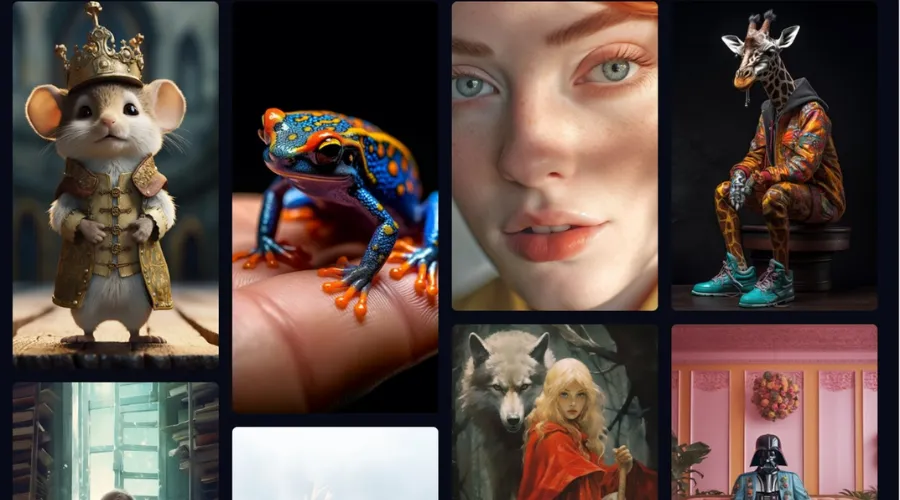
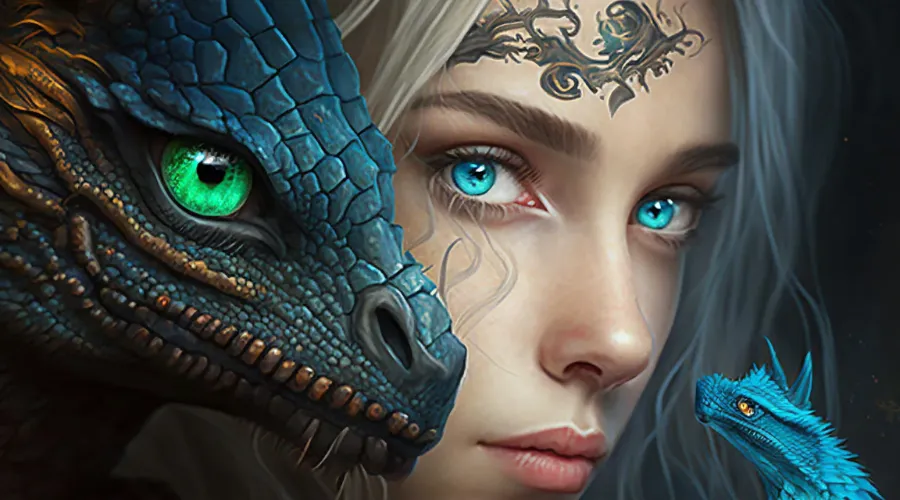
Desktop art tools? They’re history. Today, we’re all about AI. As expected, AI picture-making gizmos like DALL-E 2, Midjourney, and Diffusion have changed how we handle text, images, even data. They’ve made the unimaginable real, and fast! Today, we’re digging deeper into Midjourney AI, the super cool tool everyone’s talking about. It’s got loads of extras and is super flexible, making it a top pick for us. However, unlike other AI image makers, you can’t put Midjourney to work.
What is Midjourney AI?
Midjourney AI is a text-to-image AI that allows you to create images based on your own prompts. It is a closed-source and proprietary tool developed by a San Francisco-based research startup. It aims to turn profitable.
Midjourney AI works by using a large language model to generate images from text descriptions. The language model is trained on a massive dataset of text and images, which allows it to learn the relationship between text and images. When you give Midjourney a prompt, the language model will generate an image that matches the description in the prompt.
Getting Started With MidJourney AI

Step 1: Setting up Discord
In order to use Midjourney AI, you will first have to sign up and make an account in Discord, which is a popular chat app used by gamers and other online communities. It is free to sign up for Discord, so you don’t have to worry about spending a fortune. All you have to do is go to the Midjourney landing page and click on the “Join the Beta” button.
- Advertisement -
By doing so, you will be directed to a screen where you can continue to Discord and create an account. You’ll be asked to give your email address, password and profile name. Once you submit these details, your Discord profile will be all set.
Step 2: Join the Midjourney Discord server
After you have registered on Discord, it’s time to join the Midjourney Discord server. To do this, click on the + Button on the top left corner of your dashboard.
Once you do that, a popup will appear with a number of options, including “Join the server.” Click on “Join the sever.”
Next, you will see an option called “Don’t have an invite?” By clicking on this option, you will directed to a number of servers you can pick from.
Once you see the server menu, look for Midjourney under the featured communities and click on it.
Keep in mind that as a free user, you won’t be able to create images yet, but you can still explore the interface. Take this as an opportunity to check out others’ creative work in rooms like “newbies-4” and to gain insight into how MidJourney AI works. Your observation will definitely give you some brilliant ideas and help you navigate the platform in the upcoming steps.
Step 3: Get a Midjourney AI Subscription
Once you have tracked down the Midjourney server, you will have to subscribe to a Midjourney AI plan in order to use the features. You can do this by using one of the newcomer rooms in the Midjourney Discord server. These rooms are often named as #newbies-26 and #newbies-56.
To pull up the subscription plans, type /subscribe in the message field and press enter. This will open a link that will take you to the Midjourney website, where you can choose a subscription plan.
You’ll have four plans to choose from: Basic, Standard, Pro, and Mega. Basic, priced at $10 per month, offers up to 200 images. Standard, costing $30 per month, provides 600 images. The Pro plan, available for $60 per month, allows generating 1,200 images. The Mega plan, priced at $120 per month, offers unlimited image generation, though some delays might occur.
After selecting your plan, hit the “Subscribe” button to complete the payment. Now, you’re all set to start generating images using Midjourney AI.
Generate an image using a prompt

To generate an image in the Midjourney AI, you will need to type a text prompt in the chat window starting with a “/”. The text prompt should be a description of the image you want to create. For instance, you might input “a cat sitting on a wall, painted realistically” or “an imaginary landscape featuring a castle.”
Here are some easy-to-understand tips for making your text prompts work well:
- Style: This is like picking a theme. You can tell the system what kind of picture you want it to create. If you say “abstract,” it will make a picture that looks abstract. If you say “realistic,” it will make a picture that looks real.
- Stylize: This is like giving the picture a special look. You can ask the system to make the picture look like it was painted by a famous artist. For example, if you say “cubist,” the picture will look like it’s made up of geometric shapes. If you say “impressionist,” it will look like it’s painted with soft and blurry strokes.
- Chaos: This is about adding some randomness or messiness to the picture. If you say “high chaos,” the picture will be more messy and jumbled. If you say “low chaos,” it will be more organised and neat.
- Resolution: This is about how clear and detailed you want the picture to be. If you say “4k,” the picture will be very sharp and detailed, like those fancy new TVs. If you say “1080p,” it will still be clear but not as detailed as 4K.
- Aspect Ratio: This is about the shape of the picture. If you want a wide picture, like a movie screen, you can say “16:9.” If you want a more regular shape, you can say “3:2.”
So, using these tips, you can tell the system exactly what kind of picture you want and how you want it to look.
Edit images with upscaling and variations
Once you’ve made images in Midjourney AI, you’ll find eight buttons below the image grid: U1, U2, U3, U4, V1, V2, V3, and V4.
The U buttons make your chosen image bigger with more details. This only works in Midjourney AI versions before V5. Since the latest models create 1024 x 1024 px images by default, the U buttons help you focus on them for further edits and easier saving.
The V buttons craft four variations of your chosen image, keeping its style and arrangement. This allows you to fine-tune the image and get diverse outcomes.
The Re-roll button reruns your instruction and creates four fresh images. It’s handy if you’re not satisfied with your initial results.
All these buttons give you control over the type of images Midjourney produces. Using them, you can experiment with various styles and arrangements to craft the ideal image.
Conclusion
There you go! Now you know how to use the dynamic AI art generator Midjourney. The platform has been revolutionary in this AI era, and it’d be exciting to see what more it will achieve in the coming years. With our easy-to-follow guide, you can set up your Discord in under a few minutes and start generating hyperreal and high-quality images. You can find more about Midjourney AI and its features on its main website. For more such updates, visit Proxygeeko.


